Plant Propagation Methods for Beginners: Step by Step

Embrace the Art of Plant Propagation
For many gardening enthusiasts, the notion of nurturing new life from existing plants offers immense satisfaction and joy. Plant propagation transforms your garden into a vibrant sanctuary filled with diverse plant species, while also serving as a cost-effective means of expanding your collection. Imagine taking a beloved houseplant and growing several more from it, creating not just a lush indoor atmosphere but also cultivating a sense of purpose and accomplishment.
The world of plant propagation is rich with various techniques, each tailored to suit different plants and gardening styles. In this guide, we will delve into multiple plant propagation methods that are ideal for beginners. By embracing these techniques, not only can you enhance your gardening skills, but you also cultivate a profound appreciation for the entire growth cycle of plants. Let’s take a closer look at these popular methods:
- Cuttings – One of the most straightforward methods, cuttings involve snipping a portion of a healthy plant, typically a leaf or a stem, and placing it in a growth medium to encourage root development. For instance, many gardeners successfully propagate spider plants or pothos using cuttings.
- Divisions – This method is particularly effective for perennials. It involves digging up a mature plant and splitting it into smaller sections, each with its roots intact. This is frequently seen with plants like daylilies, which benefit greatly from this rejuvenation technique.
- Seeds – Starting from seeds is the most natural method of propagation but requires patience. Each seed contains the potential to become a full-grown plant. However, factors such as germination rates and environmental conditions play crucial roles in this method. Most vegetable gardens, for example, begin with seeds like tomatoes or peppers.
- Layering – This intriguing technique involves burying a part of a stem in the soil while it is still attached to the mother plant. Over time, roots will form at the buried section. This method is commonly used for shrubs like blackberries or many types of vines.
As you explore these propagation methods, each one comes with its own step-by-step process that can lead to fruitful growth. Understanding these processes not only elevates your gardening skills but also empowers you to experiment with diverse plant species. For example, you can practice cuttings with succulents, which root quickly and require minimal care, making them perfect for beginners.
Stay tuned as we break down each propagation method in detail, providing tips and tricks to ensure your success. By embarking on this plant propagation adventure, you open the door to a world of possibilities, where you can create a flourishing garden tailored to your tastes. The journey into the green realm awaits you!
DISCOVER MORE: Click here to learn about sustainable hydroponics at home
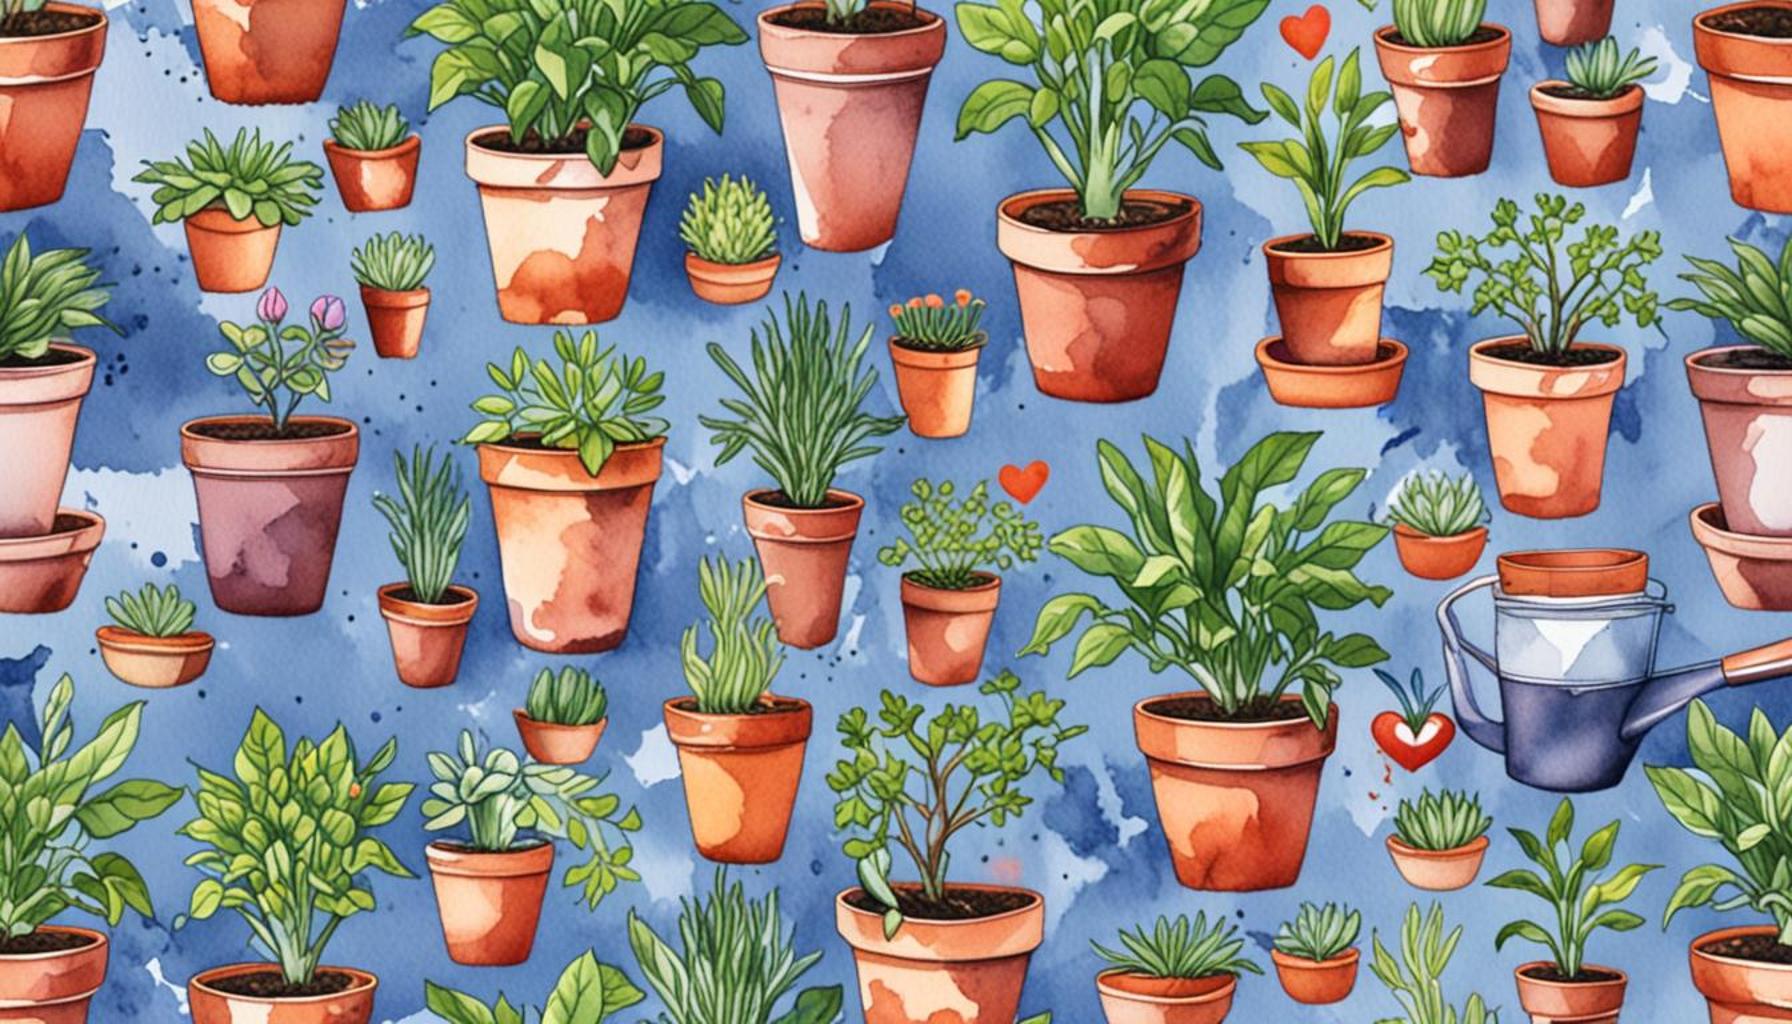
![]()
Understanding Plant Cuttings: A Beginner’s Guide
One of the simplest and most rewarding methods of plant propagation is through cuttings. This technique is favored by many novice gardeners, as it requires minimal equipment and can yield impressive results. Essentially, cuttings involve taking a portion of a plant—like a leaf or stem—and encouraging it to grow roots in a suitable medium. This method works particularly well for a variety of popular houseplants, such as pothos, spider plants, and philodendrons.
Here’s how you can successfully propagate plants using cuttings in just a few easy steps:
- Select Your Plant: Choose a healthy, mature plant to take cuttings from. Look for stems that are strong and green, avoiding any with signs of disease or damage.
- Take the Cutting: Using clean, sharp scissors or pruning shears, cut a stem around 4 to 6 inches long. Make your cut just below a node (the small bump where leaves attach to the stem), as this area will promote root growth.
- Prepare the Cutting: Remove any leaves from the lower portion of your cutting, leaving at least two or three leaves at the top. This helps the cutting focus its energy on root development without the added strain of supporting unnecessary foliage.
- Choose a Rooting Medium: You can use various mediums such as water, perlite, vermiculite, or a combination of potting soil and peat. If using water, place the cutting in a clear glass or jar, ensuring that the cut end is submerged, while the leaves remain above the waterline.
- Provide Proper Conditions: For optimal growth, place your cutting in a warm and bright area, but avoid direct sunlight, which can scorch the cutting. If you’re using soil, make sure to keep the medium moist but not overly saturated.
- Wait for Roots to Develop: This process can take anywhere from a couple of weeks to a month, depending on the type of plant and conditions. If propagating in water, look for tiny white roots spreading from the cut end. For soil, gently tug on the cutting after a few weeks to see if it resists. If it does, roots have formed!
Once your cutting has established roots, it’s time to transfer it to a larger pot filled with well-draining soil. At this stage, be sure to introduce your new plant gradually to its new environment to avoid shock.
As you dabble in this propagation method, consider experimenting with a variety of plants. While succulents are particularly forgiving and root quickly, plants such as roses or geraniums can also be successfully propagated through cuttings, though they may require a bit more attention. The journey of nurturing new plants from cuttings not only enriches your garden but also paints a vivid picture of nature’s resilience and beauty.
Exploring Other Propagation Methods
While cuttings are undoubtedly an accessible starting point, understanding other plant propagation methods will further enhance your gardening skills. Techniques such as divisions, seeds, and layering each offer unique experiences and challenges. In the following sections, we will break down these methods step-by-step, providing insights and tips tailored for budding plant enthusiasts.
| Propagation Method | Advantages |
|---|---|
| Cuttings | Easy to master and does not require special materials, allowing beginners to experiment. |
| Seed Sowing | Offers a diverse range of plants and builds knowledge on plant biology through natural growth. |
| Divisions | Promotes the health of existing plants and provides instant revamps for garden spaces. |
| Layering | Encourages strong root growth while still connected to the parent plant, reducing the stress of transplanting. |
Plant propagation is a fascinating journey that opens the door to creating lush gardens and expanding your plant collection. Each method offers unique benefits that not only enhance your gardening skills but also allow you to enjoy the thrill of nurturing new life. Whether you’re sowing seeds or taking cuttings, you learn about plant cycles, care requirements, and the satisfying process of watching your efforts come to fruition. Explore these methods, and discover how to enrich your gardening experience while increasing your plant varieties. Knowledge of propagation techniques underpins a successful gardening practice, making it an essential skill for anyone looking to delve deeper into the world of horticulture.
DON’T MISS: Click here to learn about sustainable garden design
Mastering Division: A Key Propagation Technique
Another excellent method of plant propagation is division, which is particularly effective for perennial plants, such as hostas, daylilies, and many ornamental grasses. This technique involves splitting a mature plant into multiple sections, each capable of growing into a new, independent plant. Division not only helps in propagating plants but also promotes a healthier and more vibrant garden by preventing overcrowding.
Here’s a straightforward guide to successfully propagate your plants through division:
- Select the Right Time: The best time to divide most perennials is during early spring or fall when the plants are not in full bloom. This allows them time to recover before facing hot summer sun or cold winter temperatures.
- Prepare Your Tools: Use a sharp spade, garden fork, or knife to ensure clean cuts. Disinfecting your tools with rubbing alcohol can help prevent the spread of disease.
- Dig Up the Plant: Carefully dig around the plant, lifting the root ball out of the ground. Be cautious not to damage the roots, as they are essential for the success of the new plants.
- Divide the Plant: Gently shake off excess soil to expose the roots. Using your hands or a garden tool, separate the clumps, ensuring each division has a good portion of roots and healthy stems or foliage. Aim for sections that are around 4-6 inches across.
- Replant the Divisions: Place the divisions in prepared holes in a garden bed or pot filled with nutrient-rich soil. Ensure they are planted at the same depth they were in the original plant. Water well after planting to help them settle in.
- Maintain Proper Care: For the first few weeks, keep the divisions well-watered but not overly saturated. Provide some shade if planted during the heat of summer to prevent stress on the new plants.
Division not only allows you to propagate plants but also rejuvenates the original plant, encouraging stronger foliage and blooms. This technique can be an especially fulfilling way to multiply your beloved perennials.
Seeds: The Classic Path to New Plants
For those adventurous enough to start from scratch, seed propagation offers the exciting possibility of cultivating entirely new plants from the ground up. While this method can be more challenging, it also opens up a world of plant varieties to explore. Starting with seeds allows you to control the growing conditions from the very beginning and can yield unique plant species not commonly found in local nurseries.
Here are the basic steps to get started with seed propagation:
- Choose Your Seeds: Select seeds from reputable sources, focusing on plants that suit your climate and gardening preferences. Pay attention to germination times and conditions needed for each variety.
- Prepare Your Containers: Use seed trays, small pots, or recycled containers with drainage holes. Fill them with seed starting mix, which is lighter and fluffier than regular potting soil, allowing for proper drainage and airflow.
- Sow the Seeds: Follow the seed packet instructions regarding planting depth. Generally, seeds should be planted at a depth of two to three times their width. Gently press down the soil over the seeds to ensure good contact.
- Water and Cover: After sowing, water the trays gently but thoroughly. Covering them with a plastic dome or plastic wrap can help retain humidity, promoting germination. Just be sure to check for condensation and allow air circulation to prevent mold.
- Provide Light and Temperature: Place your seed trays in a warm spot with indirect light or use grow lights. Most seeds germinate best at temperatures between 65°F to 75°F.
- Transplant Seedlings: Once seedlings develop a few sets of true leaves, usually after a few weeks, they can be carefully transplanted into larger pots or directly into your garden, depending on the plant type and conditions.
Seed propagation can be a rewarding process, allowing you to engage intimately with the growth journey of your plants. Whether choosing division or seeds, each method offers unique insights into the world of gardening. As you explore these propagation techniques, you’ll cultivate not only new plants but also a greater appreciation for the natural cycles that surround us.
DISCOVER MORE: Click here to learn about edible flower cultivation
Conclusion: Embarking on Your Plant Propagation Journey
As you delve into the world of plant propagation methods, understanding the fundamentals can open up a realm of gardening possibilities. Whether you choose the straightforward approach of division to rejuvenate existing perennials or opt for the adventurous path of starting from seeds, each method offers its unique rewards. Division not only multiplies your plants but enhances the vitality of your garden by preventing overcrowding and promoting healthy growth.
On the other hand, seed propagation invites you to explore a wider variety of plants, allowing you to nurture growth from its very inception. The joy of seeing a little seed transform into a flourishing plant is an experience that no gardener should miss. It fosters a deeper connection with nature and enhances your gardening skills, setting a solid foundation for your green thumb.
Regardless of the method you choose, remember that patience and care are paramount. Each stage of propagation offers something new to learn, and the process of nurturing plants can bring significant satisfaction. Embrace the small successes and learn from any challenges you encounter along the way. With practice, your confidence in plant propagation will grow, leading to a thriving garden full of vibrant life.
So gather your tools, select your plants, and embark on this enriching journey. By mastering these basic techniques, you’re not just creating new plants; you’re cultivating a lifelong passion for gardening that will blossom for years to come.